Table of Contents
How to Measure Art with Borders for Framing
To measure a piece of art with borders for framing, we take several measurements along each edge to account for any irregularities that may be present with works on paper. Then we decide the matting method, either over-mat or float-mount, depending upon the work of art and the desired end result. With an over-mat, the mat usually overlaps the piece by about 1/4 inch, whereas with a float-mount there will need to be a 1/8 – 1/4 inch gap of border visible around the piece.
Precision in measurement matters for the look as well as condition of the art. Measurement errors quickly add up when you’re matting and framing, which is why we measure at several points along each edge to make sure things fit right. We take this careful approach so that we can calculate the border allowance that will protect and preserve the artwork over time.
Key Takeaways
- If you get how the border math works, there are a few things to check that you want to make sure don’t happen before you even cut out your border.
- After you’ve marked the image area, determine how much blank area there needs to be within the mat that can still be seen.
- If your art has borders that you need framed, we suggest determining if the mat should overlap the edges of your artwork by 2 to 4 mm in order to keep the piece secure.
- With our measurements taken, we’ll make sure that the signature is still visible when we cut the mat.
- Having secured our signature margin in step 4, we will now measure the rabbet – the groove along the inside of the moulding that holds the mat, backing board and glazing.
Before You Begin
If you get how the border math works, there are a few things to check that you want to make sure don’t happen before you even cut out your border. First inspect your artwork for its stability and condition. Fragile or flaking pieces may need a sink mat or special backing before the cutting begins.
Next, decide between an over-mat presentation, where the mat overlaps the artwork by about 1/4 inch to keep the image fully visible, or a float-mount, which leaves roughly 1/8 to 1/4 inch of border space around the edges so the paper’s natural deckled or full edge remains visible. Over-matted works also require at least 1 inch of handling room on all sides, while float-mounted pieces benefit from a slightly thicker bottom border to visually balance the mat. These choices affect both the visual outcome and the practical handling of your piece.
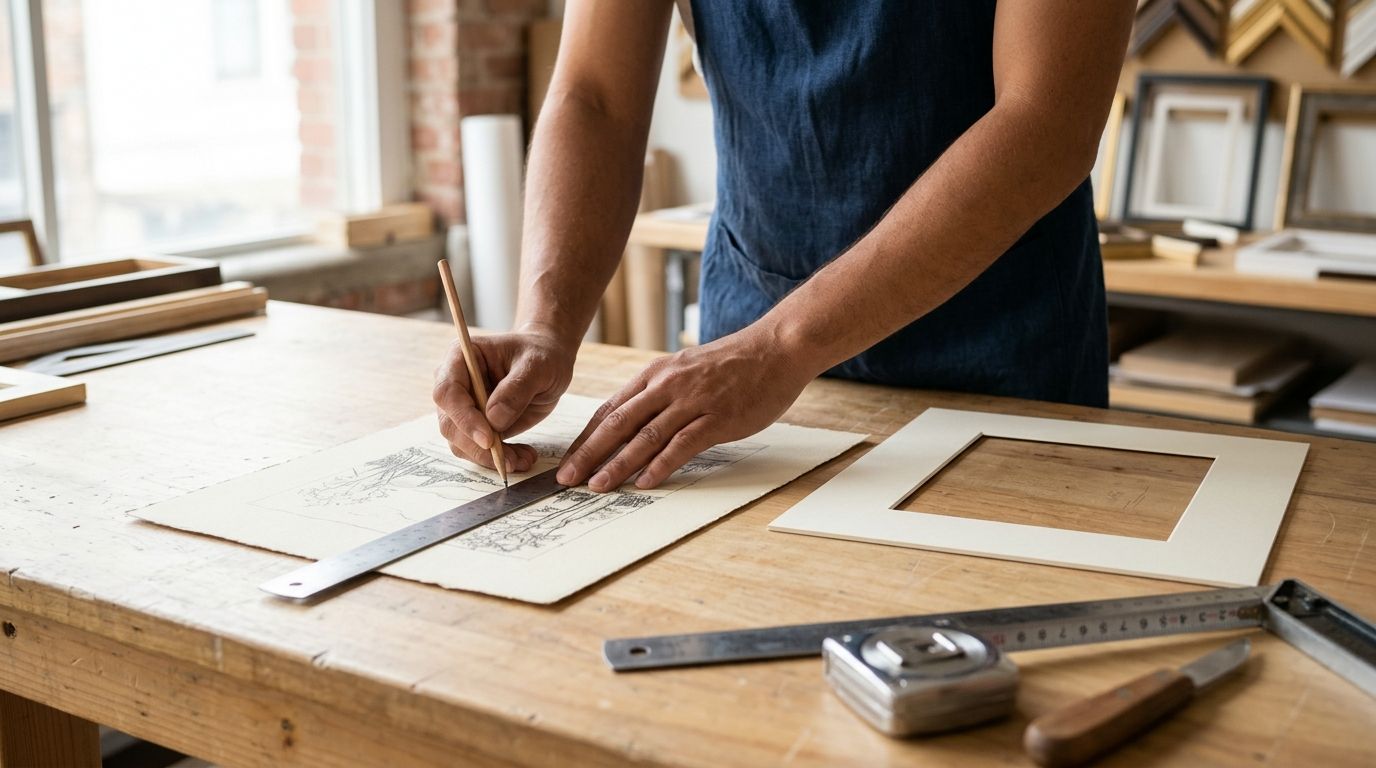
Do not grab your ruler yet. Instead, measure the object from several different locations throughout each dimension, as paper is rarely exactly square and those tiny differences can affect your final cuts. If you’d prefer not to be involved in the measuring and cutting, our Mississauga framers can do all the precision work for you.
Step 1: Gather Your Tools and Identify the Image Area
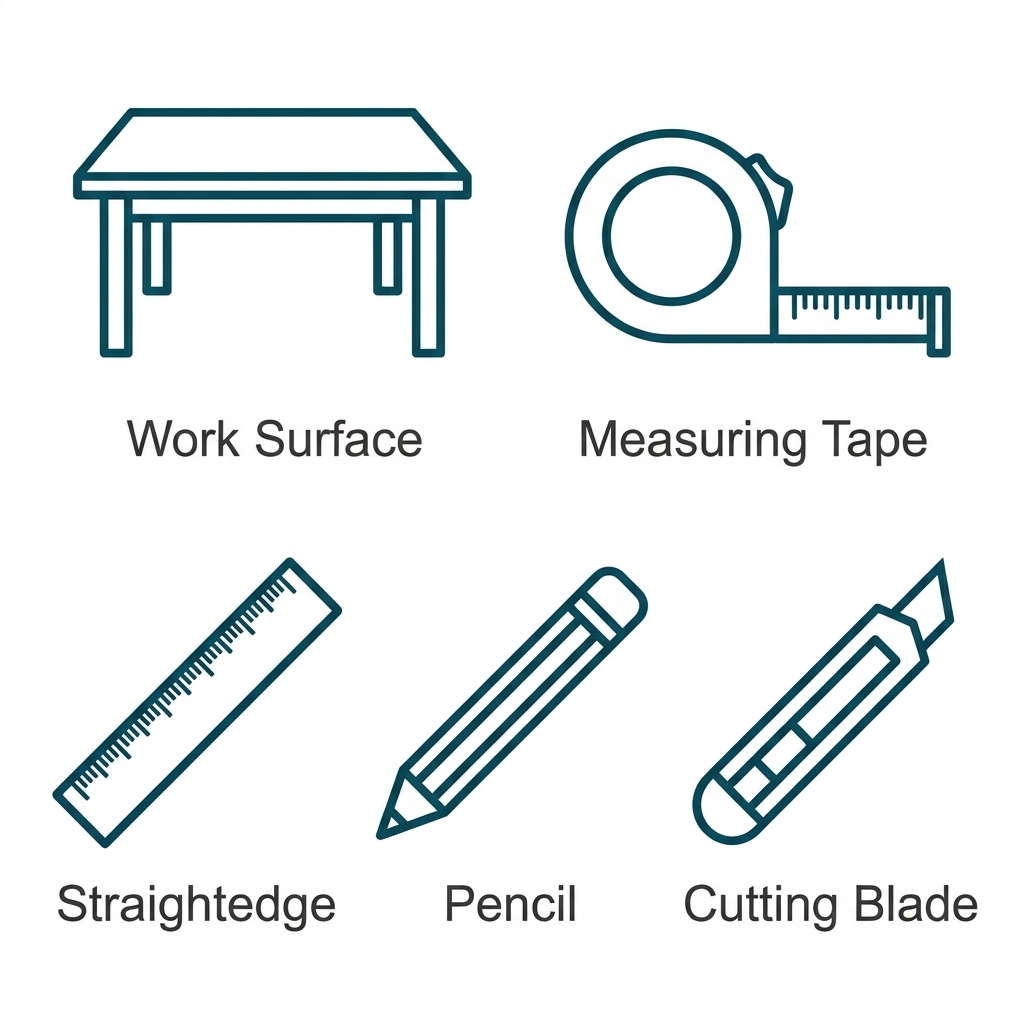
To learn how to measure art with borders for framing you will need to gather several things including a stable work surface, a measuring tape or ruler, straightedge, a soft pencil, and a sharp cutting blade with a new edge on it. Each of these tools helps prevent damage as well as ensure accuracy when measuring and cutting.
Then, decide where the window edge falls in relationship to the object edge, by determining where the window will go. For over mats, plan on having a 1/4-inch overlap to make sure the window edge misses the artwork. If you’re float-mounting instead, measure a 1/8 to 1/4-inch border gap around the artwork to create a clean, floating effect. Have at least 1-inch of handling room around the outer mat all the way round so that your fingers never touch the artwork when you’re working on it.
Record every measurement in writing before cutting begins.
Step 2: Decide Whether the Border Stays Visible
After you’ve marked the image area, determine how much blank area there needs to be within the mat that can still be seen. Your window opening should be large enough to show the artwork (including the platmark, signature or title, if present), but it shouldn’t cover any of the margins. That choice determines the amount of mat around your item and how much protection it gives from being handled.
We recommend checking three things before cutting:
- The window must expose every part of the image and any inscriptions
- Only blank paper outside the artwork should be covered
- A small overlap (about 2–4 mm) around the edges keeps the work secure
Preview your plan by lightly sketching the window on a scrap piece of paper or overlay. Doing this gives you a chance to see if the border works before committing to cutting it out.
Step 3: Measure with Your Matting in Mind
If your art has borders that you need framed, we suggest determining if the mat should overlap the edges of your artwork by 2 to 4 mm in order to keep the piece secure. This overlap allows the piece to remain flat and protected as the window reveals the image, platemark, signature and title, while the white paper borders are covered.
Before cutting, measure your paper’s width and height from exactly where you want the window to go — don’t measure from the paper’s edges. If the signature or title is close to the border, plan whether it stays inside the visible window or tucks under the mat, as this changes the window dimensions. Lay the mat over your artwork to check the reveal balance before doing any cutting.
That way, your design is secure and stays just the way you want it.
Step 4: Protect the Signature in the Margin
With our measurements taken, we’ll make sure that the signature is still visible when we cut the mat. The mat window needs to show the entire image, platemark, signature and title, while the mat will overlap only the white borders of the work by 2-4 mm. This overlap should secure the work without hiding any part of the signature or artwork.
Before cutting the bevel, mark where the signature is located on the measurement template or backing board. A look here saves us from making an irreparable mistake, cutting our window too small and obscuring the signature forever. When we know our signature won’t be hidden by the opening, we’re ready to move on to the next step: allowing for how much the frame’s rabbet will overlap the mat edges.
Step 5: Allow for the Frame’s Rabbet Overlap
Having secured our signature margin in step 4, we will now measure the rabbet – the groove along the inside of the moulding that holds the mat, backing board and glazing. This rabbet needs to be deep enough to accommodate all of those layers combined, which is approximately 2 cm in total.
When you learn how to measure art with borders for framing, don’t forget about this overlap in your calculations of the frame’s outside measurements. Add your rabbet depth to the mat and window sizes so that the overall package will fit just right within the rabbet without exceeding its capacity.
Do not make the mistake of allowing the artwork to touch the glass, as this offers minimal protection from pollutants and can damage the print surface over time. Always leave some space between the glazing and your artwork, otherwise there is risk of damage over time.
Step 6: Verify and Record Every Dimension
Before you enter your measurements for good, make sure you measure again all dimensions on your artwork. Paper may be warped or have uneven edges, so measuring again in several places will prevent mistakes when ordering a frame. After checking, write down each width and height in one list. Don’t depend solely on memory.
Don’t forget about the frame rabbet depth as you have to take into consideration room for the mat, the back board and the glazing. All in all you need around 2cm so the rabbet will easily fit this lot. Having your dimensions measured and noted down, you can now confidently place your order knowing that everything is correct and complete.
Step 7: Submit Your Measurements and Preview Your Frame
Now that you’ve double checked all your measurements from step 6 and written them down, you’re ready to submit. Upload both the overall dimension of your artwork as well as the border measurement that you took in order for us to build the frame to the full outer size and not only the image area.
The preview tool lets you choose moulding and medium to see the completed frame before you decide. Before finalizing, compare all dimensions on the screen with your own measurements. Tiny transcription errors are much easier to spot before you frame. Remember that if your mat, backing and glazing is all included, your frame has to have around 2 cm more depth to fit them in as conservation tells us. When the preview lines up with your numbers, you can confidently place your order.
Troubleshooting Common Measuring Problems
Artwork for framing is not immune from measuring mishaps either. The most common errors include crooked edges, signatures that aren’t visible, and wrong overlaps that leave parts of the picture hidden.
If the edge of your artwork is uneven or the paper is different sizes, measure in several spots on each dimension when you submit your measurements. Paper doesn’t typically sit perfectly square so even minor inconsistencies can throw the whole frame off. Take multiple measurements to catch these discrepancies before they’re too far along.
If there is part of your image, signature or platemark that is hidden behind the mat window, then the overlap is probably too big. The window opening should show your whole artwork while hiding only the intended blank areas. The usual overlap is between 2-4mm, but we will check your preview to make sure this is correct.
Float-mounted pieces should have a 1/8 to 1/4 inch border around the work of art. You’ll want to be very careful when measuring this gap or you may end up pinching the paper or leaving too much of a gap. Recheck your measurements so there isn’t a mistake that will pinch the paper or give you too much space between the paper and the border.
A mat that looks bottom heavy can be adjusted intentionally by weighting the bottom border, making it thicker, in order to balance out the visual weight without going against our conservation standards. Often this can be accomplished without having to re-cut the mat.
A lot of the questions we receive regarding how to measure art with borders for framing have to do with overlap and room. If you don’t know if your edges are going to be straight, or your artwork is in an unusual format, you can submit your measurements via our online “upload and preview” option. Once you send them over, we’ll look them over prior to cutting your frame so your artwork fits with confidence.
Frame Your Artwork with Confidence
Measuring in multiple places across each dimension remains the simplest way to catch irregularities before committing to cuts. A repeatable routine, using the roughly 1/4-inch overlap for over-matted works, the 1/8 to 1/4 inch border gap for float-mounted pieces, and at least 1 inch of handling room around outer mats, turns potential frustration into a confident workflow.
Planning the frame rabbet depth so the mat, backing board, and glazing fit together without forcing is the final step that makes the difference between a secure assembly and a risky squeeze. Archival, acid-free materials and proper sealing then protect framed works over the long term.
Learning how to measure art with borders for framing comes down to a few reliable habits and the willingness to trust experienced framers when the project feels complex. In Mississauga and across the Greater Toronto Area, we’re here to help you present your pieces beautifully and safely.
Frequently Asked Questions
Should I include the white border in my measurements if I want it to show in the frame?
No, the white border should not be included in the image area measurement. For a float-mount, leave a 1/8 to 1/4 inch gap around the artwork so the border remains visible. The window opening must expose the entire image and any signature without covering blank paper outside the artwork.
How do I measure my artwork if I want the matting to hide the paper borders?
Measure the artwork from where the window edge will go, not from the paper’s edges. Plan an overlap of 2 to 4 mm so the mat covers only the white borders while revealing the image, platemark, signature and title. The window must not cover any part of the artwork itself.
What is the best way to measure a print with a pencil signature in the margin?
Mark the signature location on your measurement template before cutting the mat window. The window should fully expose the signature and artwork, with the mat overlapping only the blank paper by 2 to 4 mm. Verify the signature remains visible before finalizing the window size.
Do I need to account for the frame’s rabbet overlap when measuring art with borders?
Yes, the rabbet—the groove inside the frame—must fit the mat, backing board and glazing, which together total about 2 cm. Add this depth to your mat and window sizes so the framed package fits correctly within the rabbet without exceeding its capacity.
Is it better to measure the full sheet or just the image area for custom framing?
Measure the full sheet first, then decide whether to include the white borders in the visible area. For over-matting, measure the image area and add a 1/4-inch overlap for the mat. For float-mounting, measure the image area and leave a 1/8 to 1/4 inch border gap around it.
Frame Your Artwork with Confidence
You now know how to measure art with borders for framing, from checking dimensions in several places to protecting the signature and allowing for the rabbet’s overlap. With the right numbers recorded, the hardest part of the job is already done. If you would rather have our team handle the cutting, our framers in Mississauga work with the same measurement standards outlined above. You can also upload your image and preview your chosen moulding, matting, and glass online before anything is cut. That preview step lets you compare every dimension against your own record, as recommended above. Whether you frame it yourself or rely on our studio in the Greater Toronto Area, careful measuring is what protects and showcases your work.